If you’ve ever had a camera before, you should be familiar with the typical process of taking a photo. Compose your scene, hold your camera up to your face, click, and there’s the photo. Since the advent of compact handheld cameras, the process rarely differs much in terms of how you view composing your shot. But long, long ago, photography had a different angle.
A New Angle
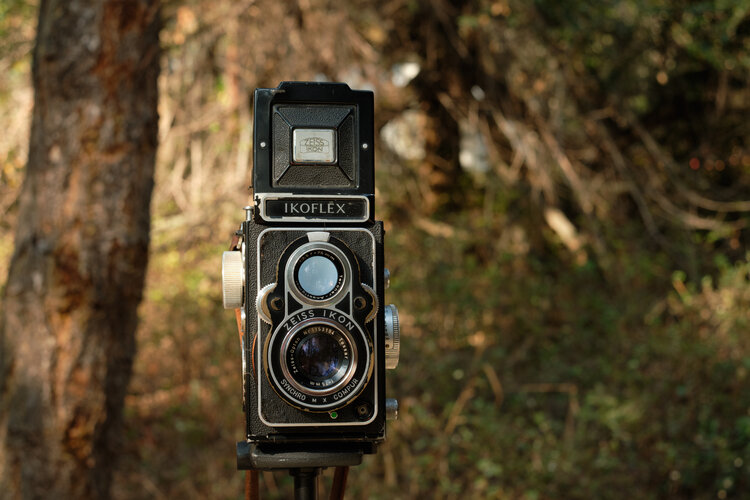
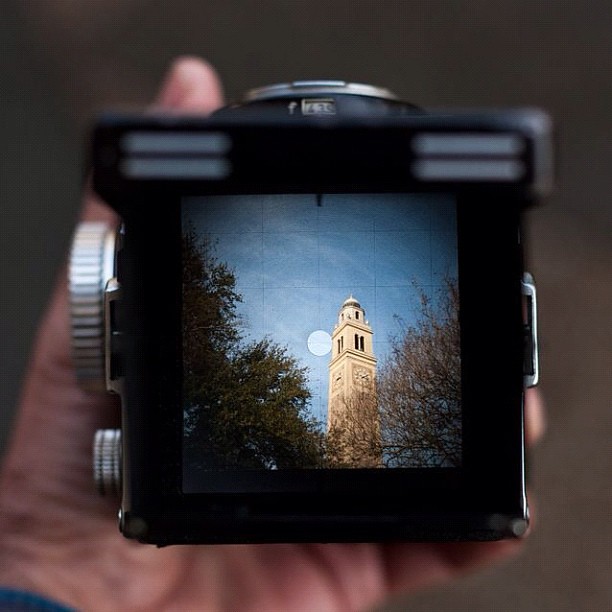
In the late 1870s, a new type of camera was developed, called Twin-Lens Reflex (TLR) cameras. These cameras allowed photographers to more easily take their camera on the go, as opposed to large, unwieldy cameras requiring tripods. By using two lenses, a TLR allows the photographer to view the scene on the fly when composing a shot. The top lens features a mirror and viewfinder that is found on the top of the camera, and the camera is used at waist level, looking down.

Now How Do I?
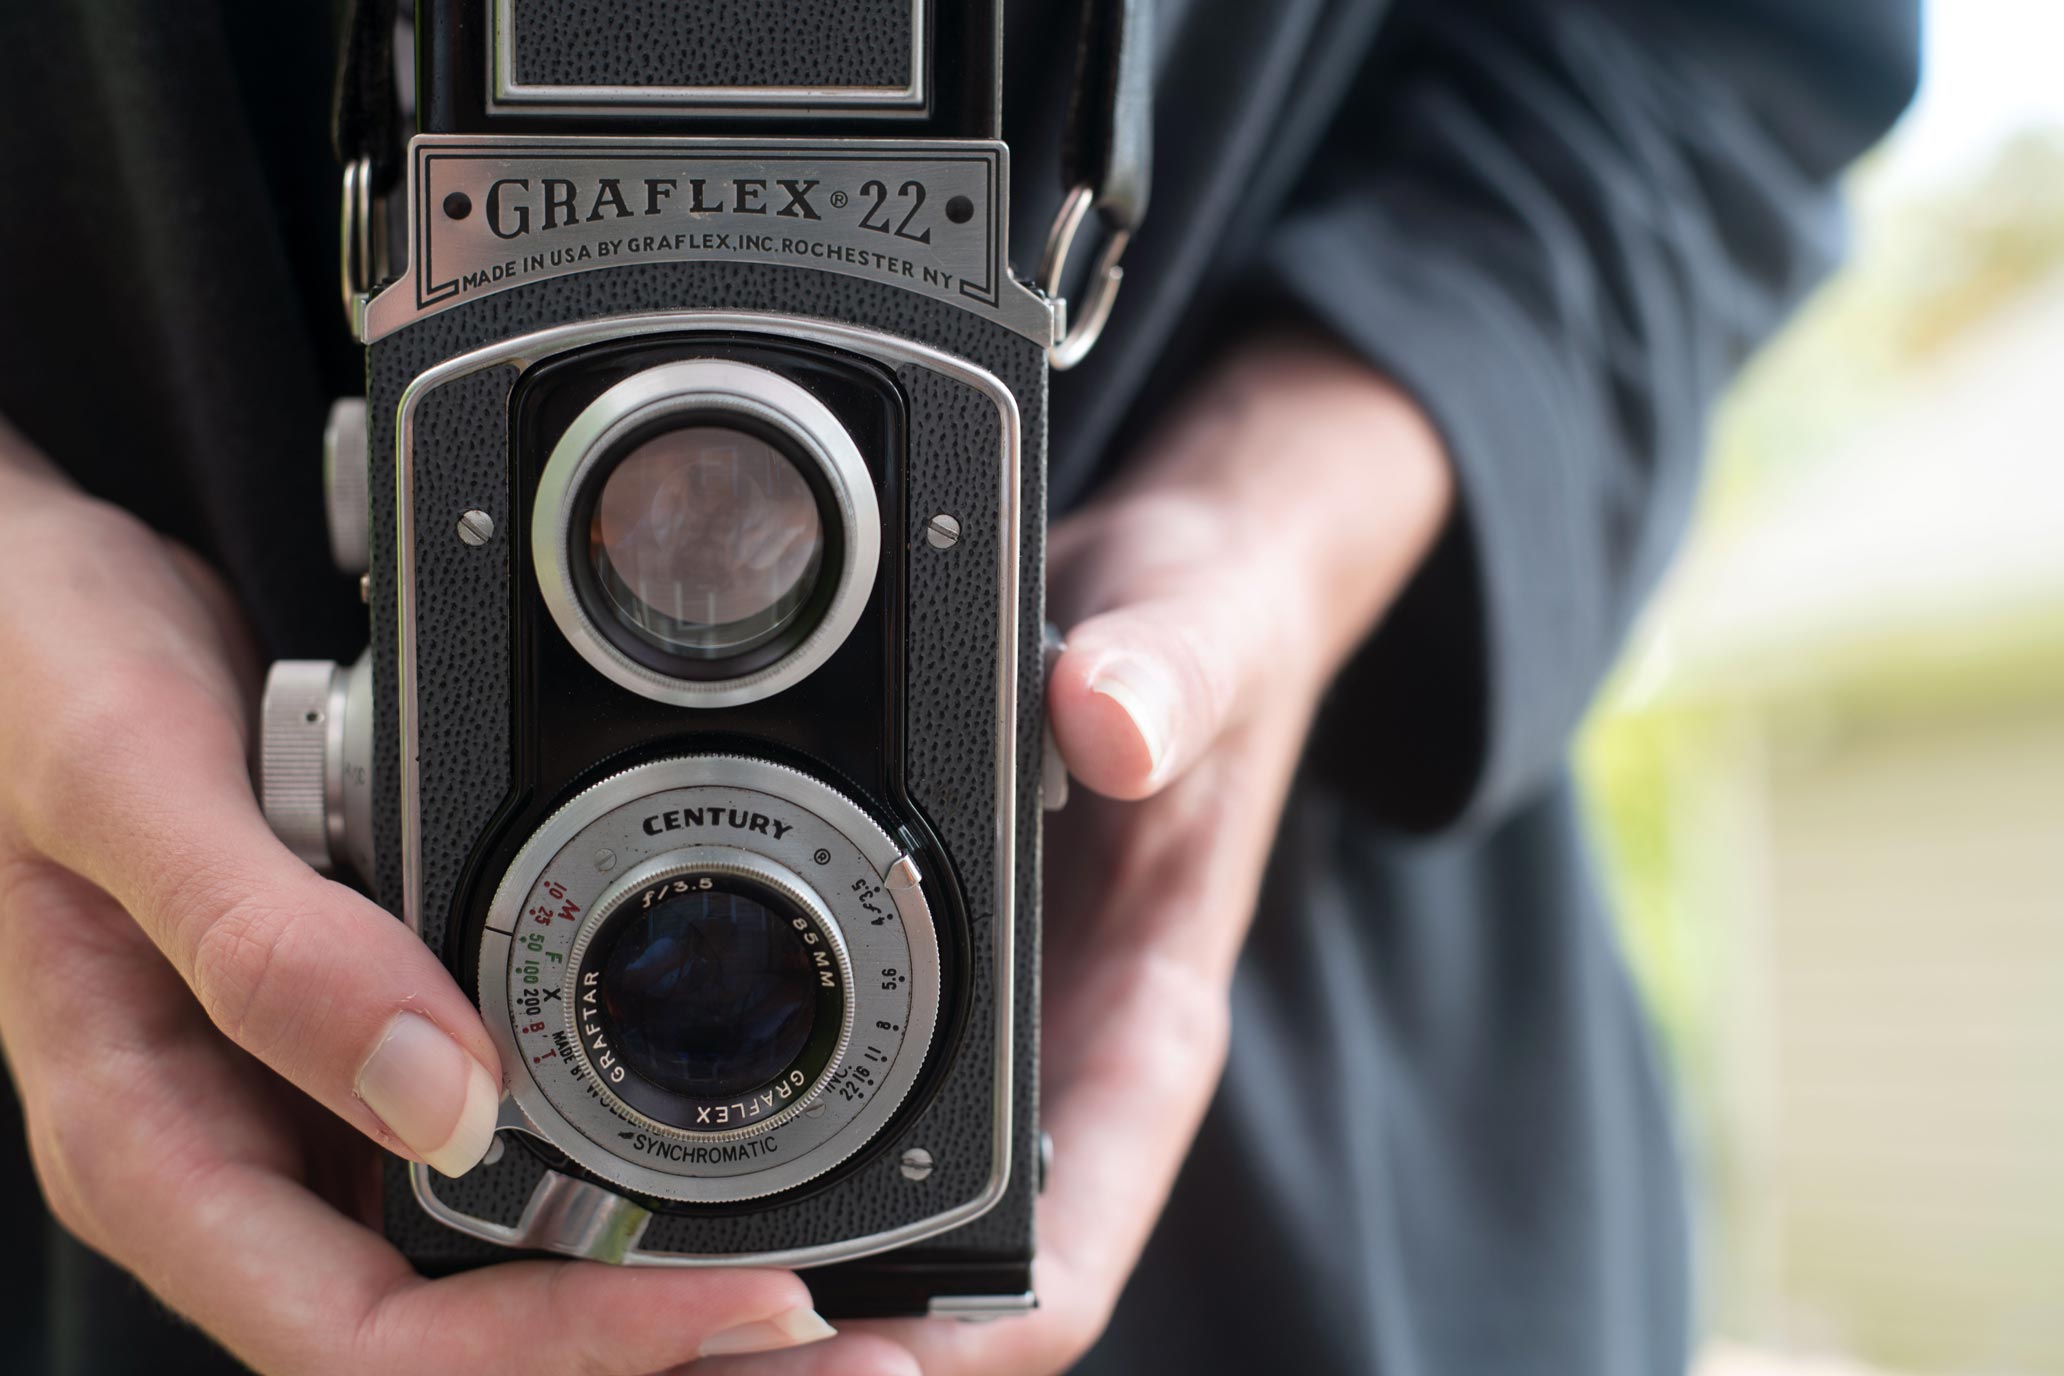
Now, how would you go about using one of these cameras? The viewfinder can be found by opening the top cover of the camera, and from here you can set up your camera for success. Focusing the camera requires manual control, and this can typically be found as a knob on the right side of the camera. Setting your exposure also requires manual control, and this is typically found around the front of the camera. You may need an external light meter to gauge your exposure properly if your camera does not feature a good one, however a cell phone can also suffice with the right app. Once everything is in place, load the shutter, and take the photo. If you’re having any trouble check out this video for more information.

One More Thing: Film
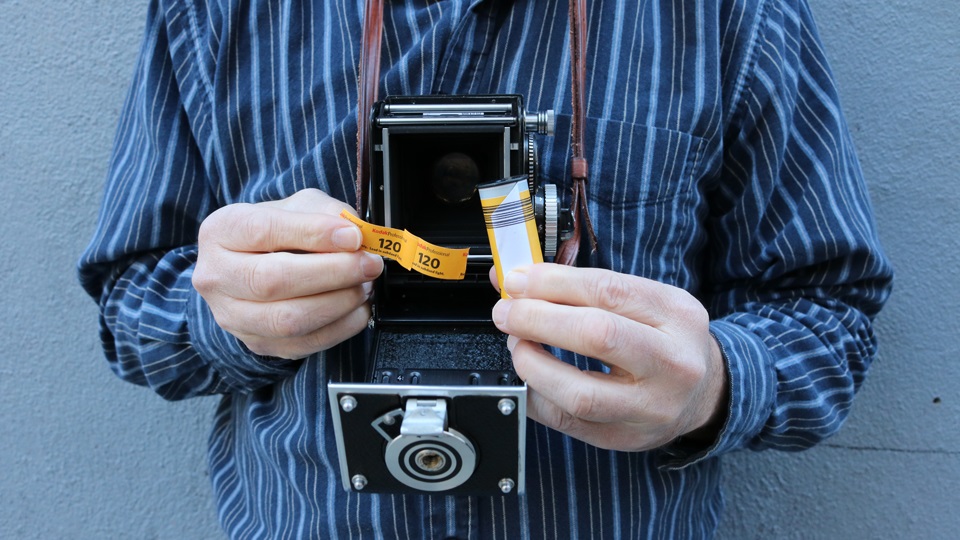
While the TLR has many features that hold up to modern standards, with resilient shutters and robust builds, one thing that is becoming more of a challenge in the modern age is analogue film. All TLRs use film instead of digital files, and this can vary depending on model but typically are 12 square 6×6 images in medium format. We’ll get more into the specifics of processing film in a future article, but for now let’s cover the basics of loading and advancing film.

The back of your TLR should be able to open, and film loads from two spools, starting at the bottom of the camera. Do note that you will need a take-up spool on the top as well, if you didn’t receive one. The film goes across and slots into the second spool, and is then advanced with a lever or knob on the right of the camera. Once loaded, you need to find the start of the roll, but you also need to close the back of the camera to prevent the film from being exposed to light. On lower-end models, you use a small red-tinted window to find the labelled numbers on the film, but on higher-end models you may have a film counter. Once the film is in position, you’re ready to shoot. After taking a photo, remember to advance to the next frame. After your roll is finished, simply wind up the film by advancing it all the way, and then it will be light-safe to remove from the camera again.
For more detail and photos of the film loading process, check out these two articles here and here. Happy shooting!


